

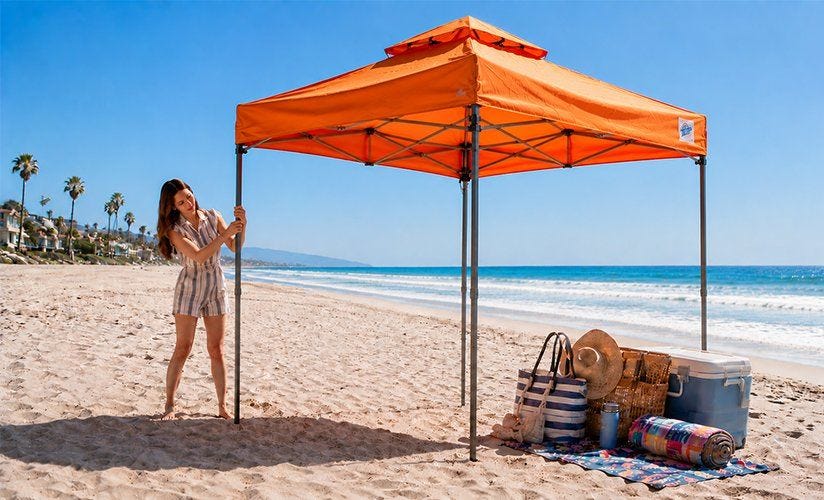
Nobody wants to spend 20 minutes wrestling with a tent before the fun even starts. That's the whole point of owning an E-Z UP canopy. Less setup, more time doing what you actually came to do. This step-by-step canopy tent setup guide walks you through the entire process so even first-timers can get it done fast and confidently.
What You Need Before You Start
You do not need tools. That's one of the biggest reasons people love E-Z UP canopies. The entire setup is tool-free by design. Before you begin, just make sure you have a flat surface to work on, your canopy bag, and ideally one other person nearby (more on that in a second).
If you are setting up on grass, concrete, or pavement, grab your E-Z UP stake kit or weight bags too. Anchoring is the step most beginners skip, and it is also the step that keeps your tent from becoming a kite.
Step-by-Step Pop Up Canopy Tent Setup
Step 1: Remove the Canopy from the Bag
Lay the bag flat on the ground and unzip it fully. Pull out the frame and the canopy top separately if they are stored apart, or as one unit if your model comes pre-attached. Lay everything out so nothing is pinched or folded under the frame.
Step 2: Position the Frame
Stand the collapsed frame upright in the center of where you want the tent. Make sure all four legs are pointing down and the frame is facing the right way. Some E-Z UP models have a slight front-to-back orientation, so a quick look at the frame before expanding saves you from spinning it around later.
Step 3: Attach the Canopy Top (If Not Pre-Attached)
If your canopy top is separate, drape it over the frame now while the frame is still low to the ground. Hook or velcro each corner to the corresponding corner of the frame. Doing this before you expand the frame is much easier than trying to attach it overhead.
All E-Z UP Eclipse and Endeavor models come with the canopy top pre-attached, so if you own one of those, you can skip straight to the next step.
Step 4: Expand the Frame
This is the satisfying part. Grab two opposing legs of the frame, one in each hand, and pull them apart. The accordion-style truss system will begin to open. Walk around the tent, continuing to spread the legs outward until the frame is fully extended at its widest point. You should feel the frame click or lock into the open position.
If you are doing a solo setup, lean the collapsed frame against a wall or a vehicle, expand one side first, then walk around and expand the other. Learning how to set up a pop up canopy tent by yourself is mostly about working in stages rather than trying to stretch both sides at once.
Step 5: Raise the Canopy to Your Desired Height
Most E-Z UP canopy frames have adjustable leg heights with push-button or slider mechanisms. To raise the canopy, lift one leg at a time and press the button or squeeze the slider to move it up to the next height setting. Repeat on all four legs until the canopy is at the height you want.
For the best stability, always set all four legs to the same height. Uneven legs put stress on the frame joints over time.
Step 6: Anchor It
Stake the legs into the ground using your E-Z UP stake kit if you are on grass or dirt. If you are on a hard surface, attach weight bags to each leg. This step takes about 60 seconds and is not optional if there is any wind at all.
That's it. Start to finish, a typical E-Z UP Swift or Dome setup runs between 60 seconds and two minutes once you've done it a couple of times.
Quick Setup Tips That Actually Help
Keep the bag nearby. Repacking is faster when you do not have to search for the bag. Practice once at home before your first event. The quick setup canopy tent instructions for beginners above will make a lot more sense after one dry run in your driveway.
If the canopy top is sagging after setup, the frame may not be fully expanded. Go back and check that the truss arms are locked out completely on all sides. Store your canopy dry. Putting a wet canopy back in the bag is the fastest way to end up with mildew and a difficult repacking job next time.
Get Out There Faster with the Right Canopy
A good canopy should never be the reason you're late to your own event. Every E-Z UP tent is built around one idea, fast setup, no tools, no frustration, and it shows the moment you take it out of the bag for the first time. Ready to find the right fit? Browse the full lineup of E-Z UP canopy tents and pick the one that works for how you spend your time outdoors. Compact personal shelters, heavy-duty commercial canopies, and everything in between are all waiting for you.
FAQs
How long does it take to set up a pop-up canopy tent?
With an E-Z UP canopy, most setups take between 60 seconds and two minutes once you are familiar with your specific model. Your first time might take five minutes, and that is completely normal.
Can one person set up a canopy tent in 5 minutes?
Yes. It is easier with two people, but solo setup is very doable. The key is to expand one side of the frame first, stabilize the tent, then work your way around. Many E-Z UP models are specifically designed to be managed by one person.
What is the easiest canopy tent to set up?
The E-Z UP Swift is one of the most beginner-friendly canopies we make. It comes with the top pre-attached, has a simple push-button leg height system, and the truss arms lock out with minimal effort. The E-Z UP Dome is another great option for people who want a lightweight setup that still holds up in outdoor conditions.
Do you need tools to set up a canopy tent?
No. Every E-Z UP canopy is completely tool-free. The entire frame assembly, height adjustment, and anchoring process uses hand-operated push buttons, sliders, or snap connections. No wrenches, no mallets, nothing.
How do you take down a canopy tent?
Takedown is basically setup in reverse. Remove stakes or weight bags first. Lower each leg to its lowest setting. Then push the legs inward toward the center of the tent to collapse the truss frame. Once it is collapsed, remove the canopy top if it is detachable, fold it, and slide everything back into the bag. The whole process takes about the same amount of time as setup.